QuickBooks Recurring Invoice: How to Set Up Automatic Invoices
October 3, 2026 · 10 min read · By Charles Ugo
invoice
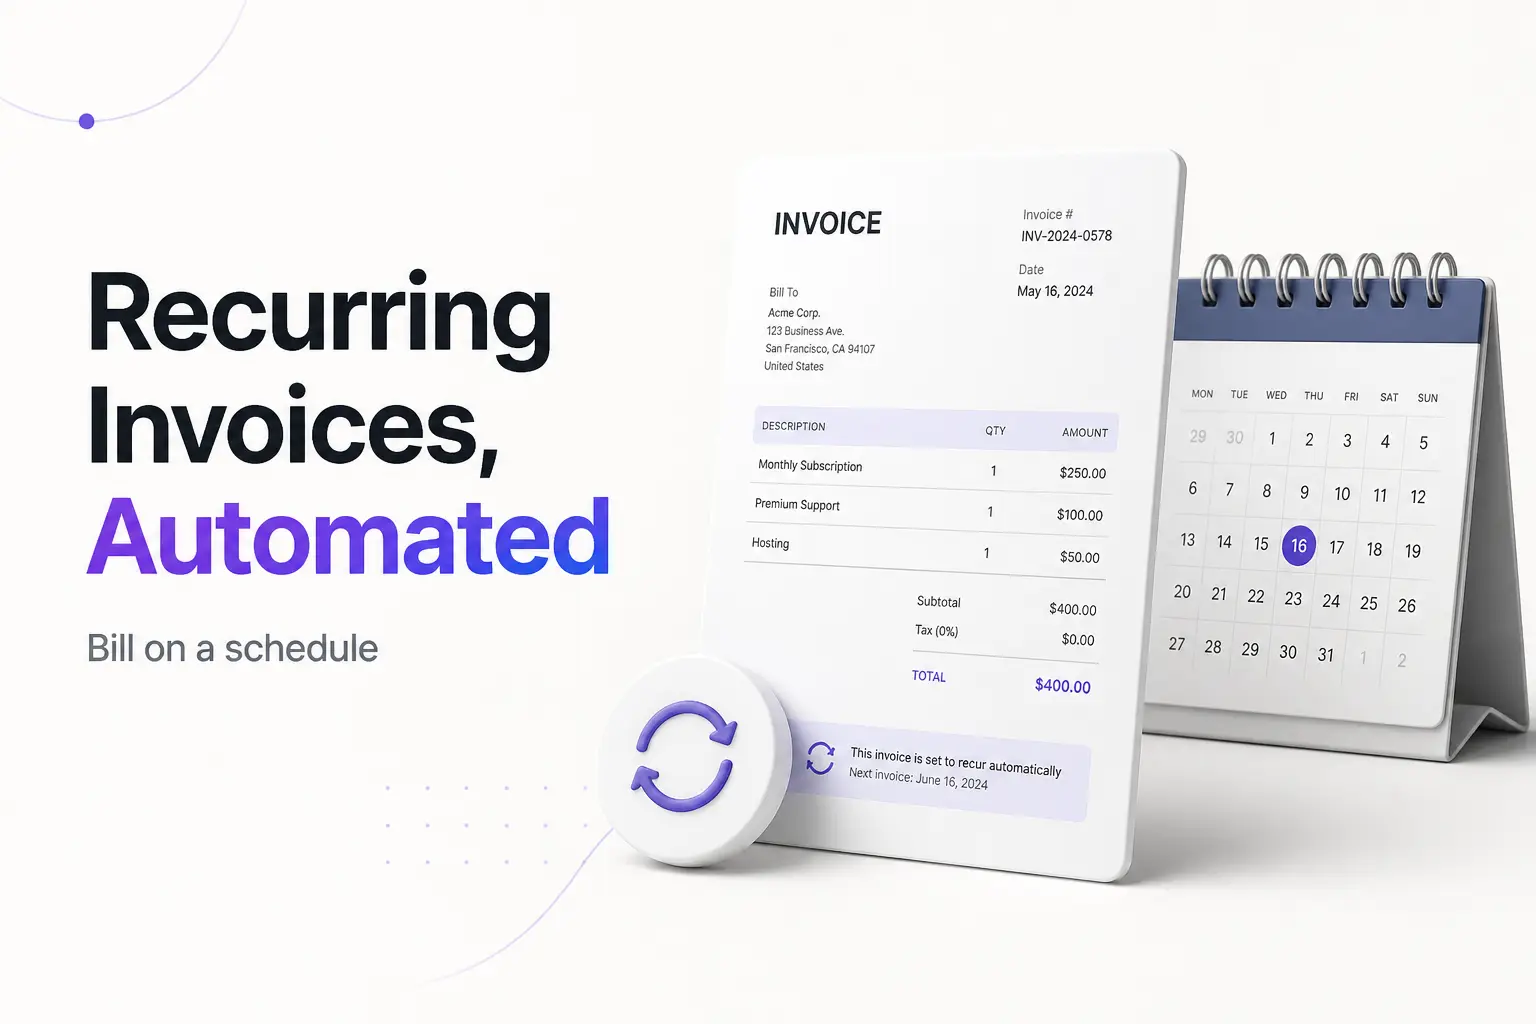
A QuickBooks recurring invoice is a saved invoice template that QuickBooks regenerates on a schedule you set — daily, weekly, monthly, or yearly — so you bill the same customer the same amount without retyping it. You build it once, tell QuickBooks how often to run it, and it creates (and can email) each invoice on its own. It lives in QuickBooks Online under Settings → Recurring transactions, and it's available on the Essentials, Plus, and Advanced plans.
If you invoice a retainer client every month, a landlord who charges the same rent, or a service on a fixed subscription, this is the feature that stops you from copy-pasting the same invoice twelve times a year. This guide covers which plans support it, the three schedule types and when to use each, the exact setup steps, how to add autopay so you get paid automatically, a worked example, and how to edit or stop a template. Intuit documents the full flow in its official create recurring transactions in QuickBooks Online help article.
Which QuickBooks plans support recurring invoices
Recurring transactions — the umbrella feature that includes recurring invoices — are not in QuickBooks Online Simple Start. You need one of these:
| Plan | Recurring invoices? |
|---|---|
| Simple Start | No |
| Essentials | Yes |
| Plus | Yes |
| Advanced | Yes |
If you're on Simple Start and the option is missing, that's why — you'd need to upgrade, or use a lighter tool for the recurring bill. On QuickBooks Desktop the feature exists too, but it's called a memorized transaction rather than a recurring invoice; you save an invoice, memorize it, and choose "Automate Transaction Entry" with a frequency and next date.
The three schedule types
Every recurring template in QuickBooks Online has a Type, and it decides how hands-off the invoice is:
- Scheduled — QuickBooks creates the invoice automatically on each interval date. Turn on Automatically send emails and it also emails the customer with no action from you. This is true "set it and forget it." Use it when the amount and customer don't change.
- Reminder — QuickBooks drafts the invoice on schedule and puts a reminder on your dashboard, but waits for you to review and send it. Use this when the amount changes month to month (hours logged, usage, materials) and you need to edit before sending.
- Unscheduled — nothing happens on a timer. QuickBooks just saves the template so you can create a copy whenever you want with one click. Use it for invoices you send irregularly but don't want to rebuild each time.
Pick Scheduled for a fixed amount, Reminder for a variable amount you want to check first.
How to set up a recurring invoice in QuickBooks Online
There are two ways in. The fastest is from an invoice you already have:
- Open or create the invoice the way you normally would.
- At the bottom of the invoice, select Make recurring.
- Fill in the recurring settings (below) and Save template.
To build one from scratch:
- Select Settings (the gear icon), then under Lists choose Recurring transactions.
- Select New, choose Invoice as the transaction type, and select OK.
- Template name — give it something you'll recognize in a list, like "Acme Corp — monthly retainer."
- Type — choose Scheduled, Reminder, or Unscheduled (see above).
- Customer — pick who gets billed. Confirm the email address is correct if you'll auto-send.
- Interval — set how often: Daily, Weekly, Monthly, or Yearly, plus the day it lands on (for example, Monthly on the 1st).
- Start date — the first date QuickBooks generates the invoice. End date — optional; leave it as "None" to run indefinitely, or set a date or a number of occurrences to stop after.
- Automatically send emails — turn this on (Scheduled type only) so QuickBooks emails each invoice as it's created.
- Confirm the line items, amounts, tax, and payment terms, then Save template.
A note on payment terms: if you set Net 30, that means payment is due 30 days after each invoice's date, not by the 30th of the month. QuickBooks calculates the due date from the invoice date each cycle.
How to add autopay so you get paid automatically
Creating the invoice automatically is only half the job — you still want the money to arrive without chasing it. That's what Autopay does, and it needs QuickBooks Payments turned on.
Here's the important part: the customer enrolls in Autopay, not you. When they receive a scheduled invoice, they select the option to set up Autopay and save a card or bank account. From then on, each future scheduled invoice is charged automatically and marked paid. Intuit walks through it in the set up Autopay for recurring invoices help article.
Two limits worth knowing before you promise a client autopay:
- Autopay works for recurring invoices totaling $5,000 or less.
- Autopay is not available on invoices set to a daily interval.
Payment processing fees apply to cards and bank transfers through QuickBooks Payments — check your current rate so the convenience doesn't quietly eat your margin.
Worked example: a monthly retainer
Say you're a freelance designer billing Acme Corp $1,500 on the 1st of every month for an ongoing retainer, and you want it fully automatic.
- Create an invoice to Acme Corp: one line, "Monthly design retainer," $1,500, terms Net 15.
- Select Make recurring.
- Template name: "Acme Corp — retainer." Type: Scheduled.
- Interval: Monthly, on day 1 of every 1 month. Start date: the 1st of next month. End: None.
- Turn on Automatically send emails.
- Save the template.
Now, on the 1st of each month, QuickBooks creates the $1,500 invoice and emails it to Acme with a Net 15 due date (the 16th). If Acme has enrolled in Autopay through QuickBooks Payments, the $1,500 is charged automatically and the invoice is marked paid — you do nothing.
Second example — a variable amount. Suppose you bill the same client for hours that change monthly. Use Type: Reminder instead. QuickBooks drafts the invoice on the 1st and flags it on your dashboard; you open it, update the hours to the actual figure, then send. You still skip rebuilding the invoice — you only edit the one number that changes.
Recurring invoice vs. recurring sales receipt
QuickBooks offers a second recurring option that looks similar but does something different. An invoice records money a customer owes you and sits open until they pay. A sales receipt records a sale that's already been paid.
- Use a recurring invoice when the customer pays after getting the bill — a retainer, a monthly service, rent.
- Use a recurring sales receipt when payment is captured at the same moment the transaction is created — for example, an automatic subscription charge to a saved card, where there's never an open balance.
One practical difference: a recurring sales receipt can't carry unbilled charges, while a recurring invoice can. If you're not running a card charge at the instant of sale, you almost certainly want a recurring invoice.
How to edit, pause, or delete a recurring invoice
Everything lives in the same place: Settings → Recurring transactions. Find the template and use the Action column on the right.
- Edit — change the amount, customer, interval, line items, or email setting, then Save template. Changes apply to future invoices, not ones already created.
- Pause / stop auto-sending — select Edit and switch the Type from Scheduled to Reminder or Unscheduled. It stops generating and emailing on its own but stays in your list, so you can switch it back later. This is the safe way to "pause."
- Delete — select the dropdown next to Edit and choose Delete. This removes the template for good; invoices it already created stay in your records.
Deleting the template does not delete or void invoices it already produced — those remain on the customer's account until settled.
Common mistakes to avoid
- Assuming Simple Start can do it. It can't. If the option is missing, check your plan before anything else.
- Auto-sending a variable amount. If the total changes each cycle, use Reminder, not Scheduled — otherwise QuickBooks emails last month's number.
- Forgetting the end date. Leaving it as "None" means it runs forever. For a fixed-term engagement, set an end date or occurrence count so you don't bill a client who's left.
- Promising autopay you can't deliver. Autopay needs QuickBooks Payments, caps at $5,000, and won't run on daily intervals. Confirm the setup before you tell a client "it's automatic."
- Wrong email on file. Auto-send only helps if the customer's email is correct on the template. Check it once at setup.
- Reusing invoice numbers. Let QuickBooks assign sequential numbers, and never reuse a number — even from a voided invoice — or your records and any tax recordkeeping get tangled. (Tax and recordkeeping points here are general information, not advice — check with your accountant for your situation.)
When you don't need full QuickBooks
Recurring invoicing is genuinely useful — but it's a paid QuickBooks feature, and if a fixed monthly bill is all you need, a full accounting subscription is a lot of overhead. If you just want to send a clean, professional invoice without a subscription, our free invoice generator builds one in a couple of minutes, and our QuickBooks-style invoice template gives you the same familiar layout to reuse each month. Already changing how your QuickBooks invoices look? See our guide to changing your QuickBooks invoice template.
For true recurring automation and autopay, QuickBooks Online (Essentials and up) is the tool. For a simple repeat bill you send yourself, a saved template is often all it takes.
Frequently asked questions
Does QuickBooks have recurring invoices? Yes. QuickBooks Online regenerates a saved invoice template on a schedule you set, on the Essentials, Plus, and Advanced plans. Simple Start doesn't include it. QuickBooks Desktop offers the same thing under the name "memorized transactions."
How do I set up a recurring invoice in QuickBooks Online? Create the invoice and select Make recurring, or go to Settings → Recurring transactions → New → Invoice. Name the template, set Type to Scheduled, pick the customer and interval, set a start date, turn on Automatically send emails, and save.
Why can't I make a recurring invoice in QuickBooks? Almost always the plan: recurring transactions aren't in Simple Start. Upgrade to Essentials or higher. On QuickBooks Desktop, look for "memorized transaction" instead.
Can QuickBooks send invoices automatically? Yes — set the template Type to Scheduled and turn on Automatically send emails. Use Reminder instead if you want to review each invoice before it goes out.
Can customers pay a recurring invoice automatically? Yes, through Autopay, which needs QuickBooks Payments. The customer enrolls from the invoice; future scheduled invoices then charge automatically. Autopay covers totals of $5,000 or less and isn't available on daily intervals.
What's the difference between a recurring invoice and a recurring sales receipt? An invoice bills a customer and stays open until paid; a sales receipt records a payment already made. Use a recurring invoice when the customer pays after billing, and a recurring sales receipt when the charge happens at the moment of sale.
How do I stop or cancel a recurring invoice? In Settings → Recurring transactions, either Delete the template, or Edit it and switch the Type from Scheduled to Reminder or Unscheduled so it stops running on its own.