How to Change Your QuickBooks Invoice Template: Step-by-Step Guide
September 26, 2026 · 8 min read · By Charles Ugo
invoice
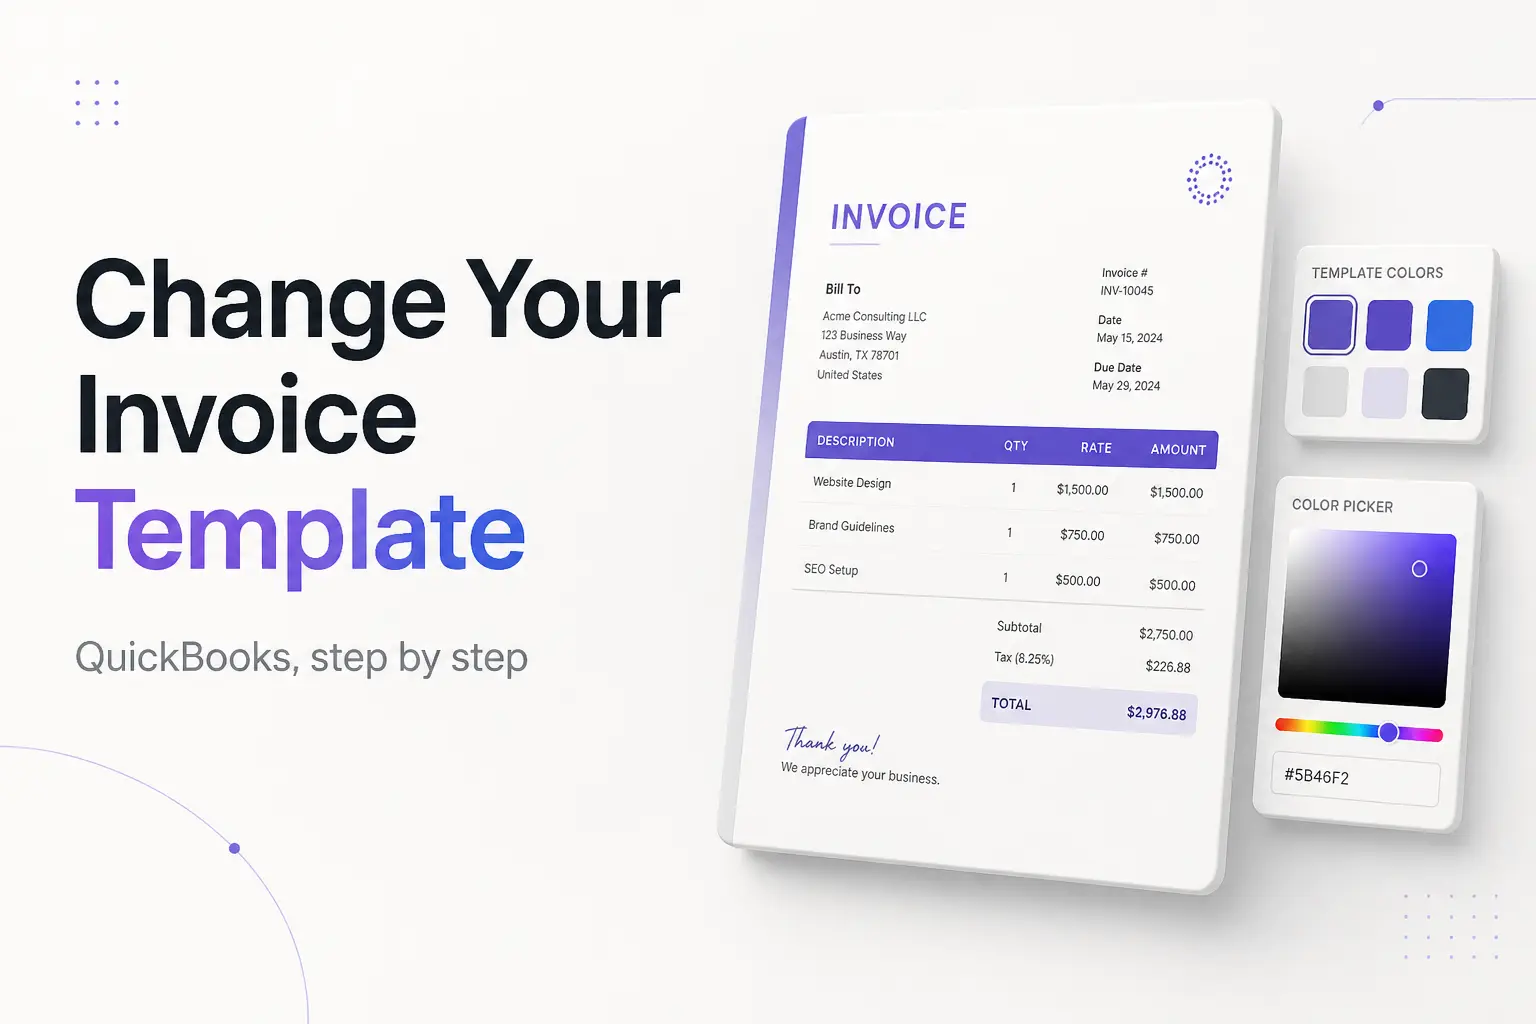
You change your QuickBooks invoice template in one of two places, and which one you use depends on your version. In QuickBooks Online, open any invoice and click Manage on the right of the form—the Design tab swaps the template style, color, and font, and the Customization tab turns fields on or off. On older Online accounts you'll instead find these controls under the Gear icon → Custom form styles. In QuickBooks Desktop, it lives under Customers → Create Invoices → Formatting → Manage Templates. This guide walks through all three, plus how to set a default, with two worked examples and the mistakes that trip people up.
First, a quick definition so the steps make sense. A template is the reusable layout QuickBooks drops your data into every time you bill someone—your logo, the column headers, the payment terms, the footer note. An invoice is the finished bill; the template is the mold it's poured from. Change the template once and every new invoice inherits the look.
The one thing to know before you start
Editing a template changes future invoices, not the ones you already sent. If you fix a typo in your footer or add a logo today, the invoice you emailed last week still shows the old version. That's usually what you want—an already-sent bill shouldn't silently change under the customer's feet—but it surprises people who expect a template edit to sweep backward. If you need an old invoice to match, open it and re-save it.
Also worth knowing up front: full design editing is generally limited to a Company Admin or a user with all-access rights. If the Design or Customization options look greyed out or missing, that's the usual cause—ask whoever owns the account to change your access or make the edit for you.
QuickBooks Online — the new invoice experience (Manage panel)
Intuit has been moving Online accounts onto a redesigned invoice screen where template controls live inside the invoice rather than in a separate settings area. If you open an invoice and see a Manage button on the right, you're on the new experience. Intuit documents this flow in its official customize invoices in QuickBooks Online help article.
- Click + New in the top-left, then Invoice (or open an existing draft).
- On the right side of the form, click Manage.
- Open the Design section. Here you choose the template style, set your brand color, pick a font, and upload or swap your logo.
- Open the Customization section. This is where you turn line-item and form fields on or off—quantity, rate, SKU, discount, the due date, a custom message, and so on.
- To change business details that print on the form (name, address, email), use Edit company on the invoice.
- The form updates live as you toggle things, so you see the result before you send. Save the invoice when it looks right.
Because the settings sit on the invoice, changes you make here become the look for invoices you create afterward. There's no separate "save template" button to hunt for—the choices stick.
QuickBooks Online — the older experience (Custom form styles)
If your account still shows Custom form styles, use this path instead. It's the classic editor and gives you a full-screen preview.
- Click the Gear icon (Settings) in the top-right.
- Under the Your Company column, select Custom form styles.
- To start fresh, click New style → Invoice. To change an existing one, click Edit next to it.
- Use the Design tab to set the template name, upload a logo, and pick the splash color, font, and margins.
- Use the Content tab to edit the three zones of the form—header (your details and the customer's), body/table (which columns show and what they're called), and footer (payment terms, a thank-you note).
- Use the Emails tab if you also want to change the message that goes out with the invoice.
- Click Done to save.
Logo tip for both Online paths: QuickBooks accepts common image files—.png, .jpg, .jpeg, .gif, .bmp—each under roughly 10 MB. A square image sits best in the logo box; a very wide banner gets shrunk or cropped. If your logo looks tiny, it's usually because the source image isn't square.
Setting a default template
A default is the template QuickBooks reaches for automatically on a new invoice.
- Online, older experience: Gear icon → Custom form styles → click the dropdown in the Action column next to the style → Make default.
- Online, new experience: open an invoice → Manage → open the Design dropdown and set the template you want as the standard there.
- Desktop: the template you last used—or the one at the top of your Templates list—loads for the next invoice, so keep the one you want handy and active.
QuickBooks Desktop
Desktop keeps templates in a dedicated list and lets you redesign the layout pixel by pixel.
- Go to the Customers menu → Create Invoices.
- Click the Formatting tab at the top of the invoice window.
- Click Manage Templates. You'll see every template on the account—Intuit's built-ins plus any you've made.
- Select a template to preview it, then click OK to use it, or Copy to duplicate it before editing.
- With a copy selected, use Additional Customization to change fields and columns, or Layout Designer to drag boxes, resize the logo, and move blocks around the page.
- Click OK to save your changes back to that template.
Always edit a copy, not Intuit's original. Copy the built-in template first, rename it (say, "Acme Invoice 2026"), and edit the copy. If a layout change goes wrong, the untouched original is still there to fall back on.
Worked example 1 — a freelancer modernizes a plain invoice (Online)
Maria designs on the side and bills through QuickBooks Online. Her invoices go out in the default gray style with no logo, and she wants something that looks like her brand.
She clicks + New → Invoice, then Manage. Under Design she uploads her square logo (a 600×600 PNG), sets the accent color to her brand teal, and switches the font to a cleaner sans-serif. Under Customization she turns off the SKU column she never uses and turns on a custom footer message: "Thanks—payment due Net 15." She saves.
Her next invoice—and every one after—now carries the teal, the logo, and the footer. The three invoices she sent last month are unchanged, which is fine; those clients already paid. Total time: about four minutes.
Worked example 2 — a consultant rebuilds the layout (Desktop)
Devon runs a consultancy on QuickBooks Desktop and wants a wider description column and his address moved to the top-right. He opens Customers → Create Invoices → Formatting → Manage Templates, selects Intuit Service Invoice, and clicks Copy so the original stays intact. He renames the copy "Devon Consulting."
In Additional Customization he widens the Description column and hides the "Rep" field. In Layout Designer he drags his company address block to the top-right corner and resizes the logo so it's not oversized. He clicks OK twice to save. From now on, when he starts an invoice he picks "Devon Consulting" from the template dropdown, and the layout loads exactly as he built it.
Common mistakes to avoid
- Expecting old invoices to update. Template edits are forward-looking. Re-save an individual invoice if you need it to match.
- Editing Intuit's built-in template directly (Desktop). Copy it first. Editing the original leaves you no clean fallback.
- Uploading a non-square logo and blaming QuickBooks. A wide logo shrinks to fit the box. Crop it square first.
- Assuming the option is missing when it's a permissions issue. If Design or custom fields are greyed out, you likely aren't an admin.
- Hunting for Custom form styles on a new-experience account. It's gone—the controls moved into the Manage panel inside the invoice.
- Forgetting to set the new template as default. Building a beautiful style but never making it the default means QuickBooks keeps loading the old one.
Whatever template you land on, keep your invoice numbers unique—don't reuse a number even on a voided or replaced invoice, or your records and any tax recordkeeping get muddled. (Tax and recordkeeping rules are general information here, not advice—check with your accountant for your situation.)
If QuickBooks templates feel too rigid
QuickBooks templates are fine once they're set up, but the editors are fiddly and a lot of the polish sits behind admin permissions and the right subscription. If you just need a clean, branded invoice out the door today—or you want a specific look QuickBooks won't give you—you can build one in a couple of minutes with our free invoice generator and download a ready-to-send PDF. We also keep a set of QuickBooks-style invoice templates you can start from without touching the accounting software at all. And if you're still learning the basics of billing inside the app, our guide on how to invoice a customer in QuickBooks walks through creating and sending one start to finish.
Frequently asked questions
The steps above cover changing the template. The FAQ section answers the specific questions people search alongside this one—permissions, the missing Custom form styles menu, defaults, and Desktop.
The short version
Changing your QuickBooks invoice template is quick once you know where the controls live: Manage → Design/Customization inside an invoice on newer QuickBooks Online, Gear → Custom form styles on older Online accounts, and Customers → Create Invoices → Formatting → Manage Templates on Desktop. Edit a copy, not the original, keep your logo square, remember that changes only touch future invoices, and set your new look as the default so QuickBooks actually uses it.