QuickBooks: how to invoice a customer step by step
August 22, 2026 · 8 min read · By Charles Ugo
invoice
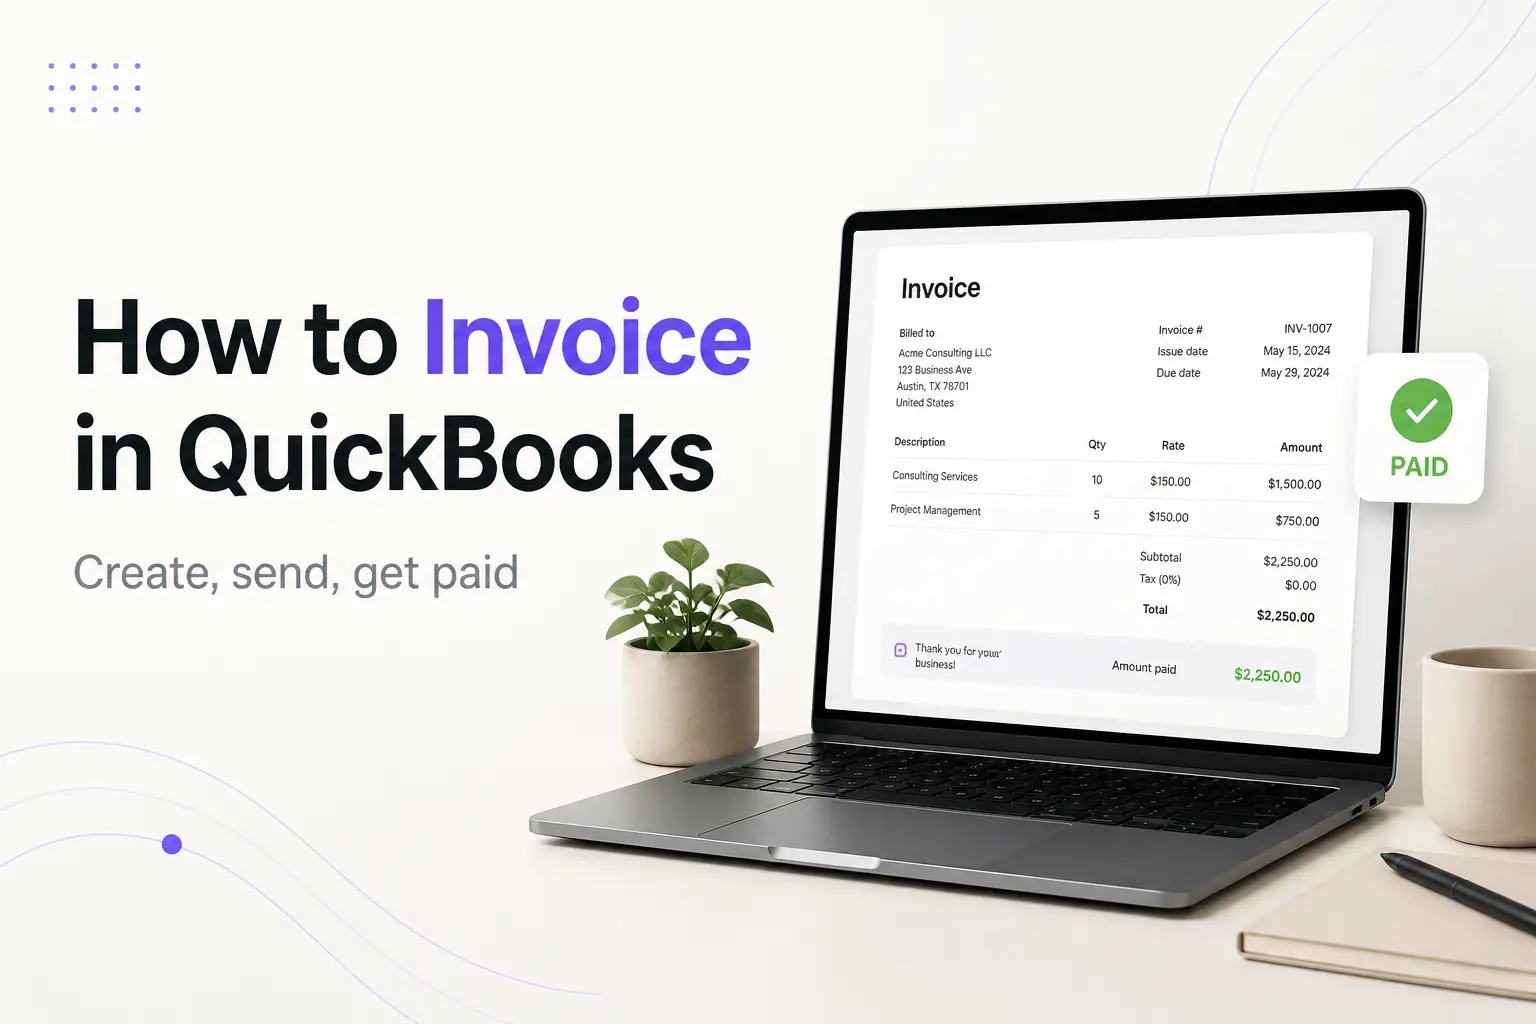
The fastest way to invoice a customer in QuickBooks Online: click + New in the top-left corner, choose Invoice, pick the customer, add your products or services, then hit Save and send. That is the whole loop. Everything below fills in the details—each field, how sending works, how to record the payment when it lands, and the same flow for QuickBooks Desktop.
An invoice is just an itemized request for payment: who owes what, for which work, and by when. QuickBooks builds one for you and then tracks whether it gets paid. Let's walk it through.
Before you start
You need two things in place, or the invoice screen will feel empty:
- A customer record. QuickBooks pulls the name, email, and billing address from the customer's profile. You can add a new customer on the fly, but it's cleaner to set them up first under Sales → Customers.
- Products or services set up as items. Each line on an invoice points to an item (for example "Consulting — hourly" or "Logo design"). Set these under Sales → Products & services so the description and rate fill in automatically. You can also type a one-off line by hand.
Have those ready and the invoice takes about a minute.
How to create an invoice in QuickBooks Online
This is the modern, browser-based version most new users have. The official steps from Intuit's create-invoices help page match what's below:
- Open a new invoice. Click + New in the top-left corner, then Invoice. (You can also go Sales → Invoices → New invoice.)
- Choose the customer. Use the Add customer dropdown. QuickBooks fills in the saved email and address. Pick Add new if they're not in your list yet, and double-check the email—that's where the invoice goes.
- Check the dates and terms. Confirm the Invoice date, then set Terms (for example Net 30). QuickBooks calculates the Due date from the terms. Net 30 means payment is due 30 days after the invoice date—not the 30th of the month.
- Add your line items. Under Product or service, pick an item from the dropdown, then set the Description, Qty, Rate, and Amount. Add a row for each thing you're billing. QuickBooks totals it for you.
- Add tax and discounts if they apply. If you've turned on sales tax, choose the rate. Whether you charge sales tax depends on your state and what you're selling—many services aren't taxed—so don't assume it applies.
- Turn on payment options (optional). Click Payment options and switch on the methods you want—card, bank transfer, and so on. If prompted, you sign up for QuickBooks Payments so customers can pay online straight from the invoice.
- Save or send. Click Save and send to email it now, Save and close to send later, or use the review screen to send a pay-by-text link.
That's a complete invoice. QuickBooks assigns the invoice number automatically and increments it each time—leave that alone. Never reuse or manually duplicate an invoice number, even for one you voided, or your records and any audit trail get tangled.
How to send the invoice
If you clicked Save and send, QuickBooks opens an email preview. Confirm the address, edit the subject or message if you like, and send. The customer receives either a PDF or a link to an online invoice they can pay from directly.
After it goes out, QuickBooks tracks the status for you on the Invoices list—Sent, then Viewed when the customer opens it, Partial if they pay part, and Paid once it's settled. You can also switch on automatic reminders so QuickBooks nudges late payers without you writing the email.
How to create an invoice in QuickBooks Desktop
QuickBooks Desktop is the installed program (Pro, Premier, or Enterprise). The fields are identical; only the navigation changes. Intuit's Desktop invoice guide lays it out:
- From the Home screen or the top menu, go Customers → Create Invoices.
- In the Customer: Job dropdown, choose the customer. Add a new one if needed.
- Confirm the Date, Invoice #, and Terms.
- Fill in the line items—Item, Description, Qty, Rate, Amount.
- Click Save & Close, or Email to send it right away.
To let Desktop customers pay online, set it up once under Edit → Preferences → Payments → Company Preferences. To record payments later, you'll use Customers → Receive Payments.
How to record a payment (mark an invoice as paid)
Creating the invoice is only half the job—your books stay wrong until you record the money coming in. In QuickBooks Online, open the invoice and click Receive payment, then enter the amount, date, and payment method. QuickBooks matches it to the invoice and reduces your accounts receivable balance automatically. Intuit's record-invoice-payments guide covers partial payments and deposits too. In Desktop, do the same through Customers → Receive Payments.
Do not just delete the invoice or type "PAID" on it. Recording the payment is what keeps income, accounts receivable, and your reports accurate.
Customizing your invoice template
Set the look once and every future invoice inherits it. In QuickBooks Online, go to Settings (the gear icon) → Custom form styles, then edit the default or make a new style. You can:
- Upload your logo and pick an accent color.
- Choose which columns show (for example hide the Qty column on flat-fee work, or show SKU).
- Edit the footer and payment terms wording so it reads the way you want.
- Add a custom message that appears on every invoice—handy for "Thanks for your business" or your payment instructions.
QuickBooks Desktop handles this under Lists → Templates, where you can duplicate and edit an invoice layout. A tidy, consistent template looks more professional and tends to get paid faster than a bare one.
Worked example 1: a one-off freelance invoice
Say you're a freelance designer billing a new client, Bright Coffee Co., for a logo.
- + New → Invoice, then Add customer → Bright Coffee Co. (added as a new customer, email
owner@brightcoffee.com). - Terms: Net 15. Invoice date August 22, so the due date fills in as September 6.
- Line 1: item "Logo design," Qty 1, Rate $600, Amount $600.
- Line 2: item "Revisions — hourly," Qty 2, Rate $75, Amount $150.
- Subtotal $750. No sales tax (a design service, not taxable in this client's state).
- Payment options: card and bank transfer switched on.
- Save and send.
The client gets an online invoice, pays by card on August 28, and you click Receive payment for $750. Status flips to Paid, and your income and cash accounts update on their own.
Worked example 2: a partial payment on a bigger job
Now a contractor bills Maple Street LLC $4,000 for a kitchen remodel, Net 30.
- Create the invoice for $4,000 with two line items (labor $2,500, materials $1,500).
- The client pays a $2,000 deposit on day 10. Open the invoice, Receive payment → $2,000. Status shows Partial, with a $2,000 balance remaining.
- On day 25 the client pays the rest. Receive payment → $2,000. Status flips to Paid.
Because you recorded each payment against the same invoice, QuickBooks always shows exactly how much Maple Street still owes—no guessing, no second invoice.
Common mistakes to avoid
- Sending before checking the email address. QuickBooks sends to whatever is on the customer record. A typo means the invoice never arrives and you wonder why you're not paid.
- Confusing Net terms with a calendar date. Net 30 is 30 days from the invoice date. Set the terms and let QuickBooks compute the due date—don't hand-type "due the 30th."
- Marking paid without recording the payment. Deleting the invoice or overwriting it breaks your accounts receivable. Always use Receive payment.
- Editing or reusing invoice numbers. Let QuickBooks auto-number. Reusing a number—even a voided one—creates duplicates that confuse you, your client, and any auditor.
- Assuming you must add sales tax. Tax depends on your state and what you sell. This is general information, not tax advice—check your state's rules or your accountant before charging it.
- Not keeping copies. Whether you use QuickBooks or not, keep your invoices. The IRS advises businesses to retain supporting records like sales invoices for their filings.
Do you actually need QuickBooks to invoice?
QuickBooks earns its subscription once you have steady volume and want invoicing wired into full accounting—bank feeds, reports, sales tax, payroll. If your real need is "bill this client and get paid," that's a heavier tool than the job requires.
If you just want a clean invoice out the door today, our free invoice generator creates and downloads one in a couple of minutes—no account, no subscription. Prefer the QuickBooks look without the software? Grab our QuickBooks-style invoice template and fill it in. For the wider workflow, see how to send an invoice, what Net 30 really means, and how to follow up when a client is late.
The short version
Invoicing in QuickBooks is three moves: create (+ New → Invoice, pick the customer, add line items), send (Save and send, then let QuickBooks track the status), and record the payment (Receive payment when the money lands). Desktop uses the same fields under Customers → Create Invoices. Get those three steps down and your accounts receivable stays honest without extra work. And if QuickBooks is more than you need right now, a free generator or template will get the same invoice paid just as fast.
Frequently asked questions
The FAQs above answer the questions most people ask about invoicing in QuickBooks—creating an invoice, the Online vs. Desktop difference, marking invoices paid, customizing the template, emailing, recurring invoices, and whether you need QuickBooks at all.