How to create an invoice using Word: a step-by-step guide
October 8, 2026 · 10 min read · By Charles Ugo
invoice
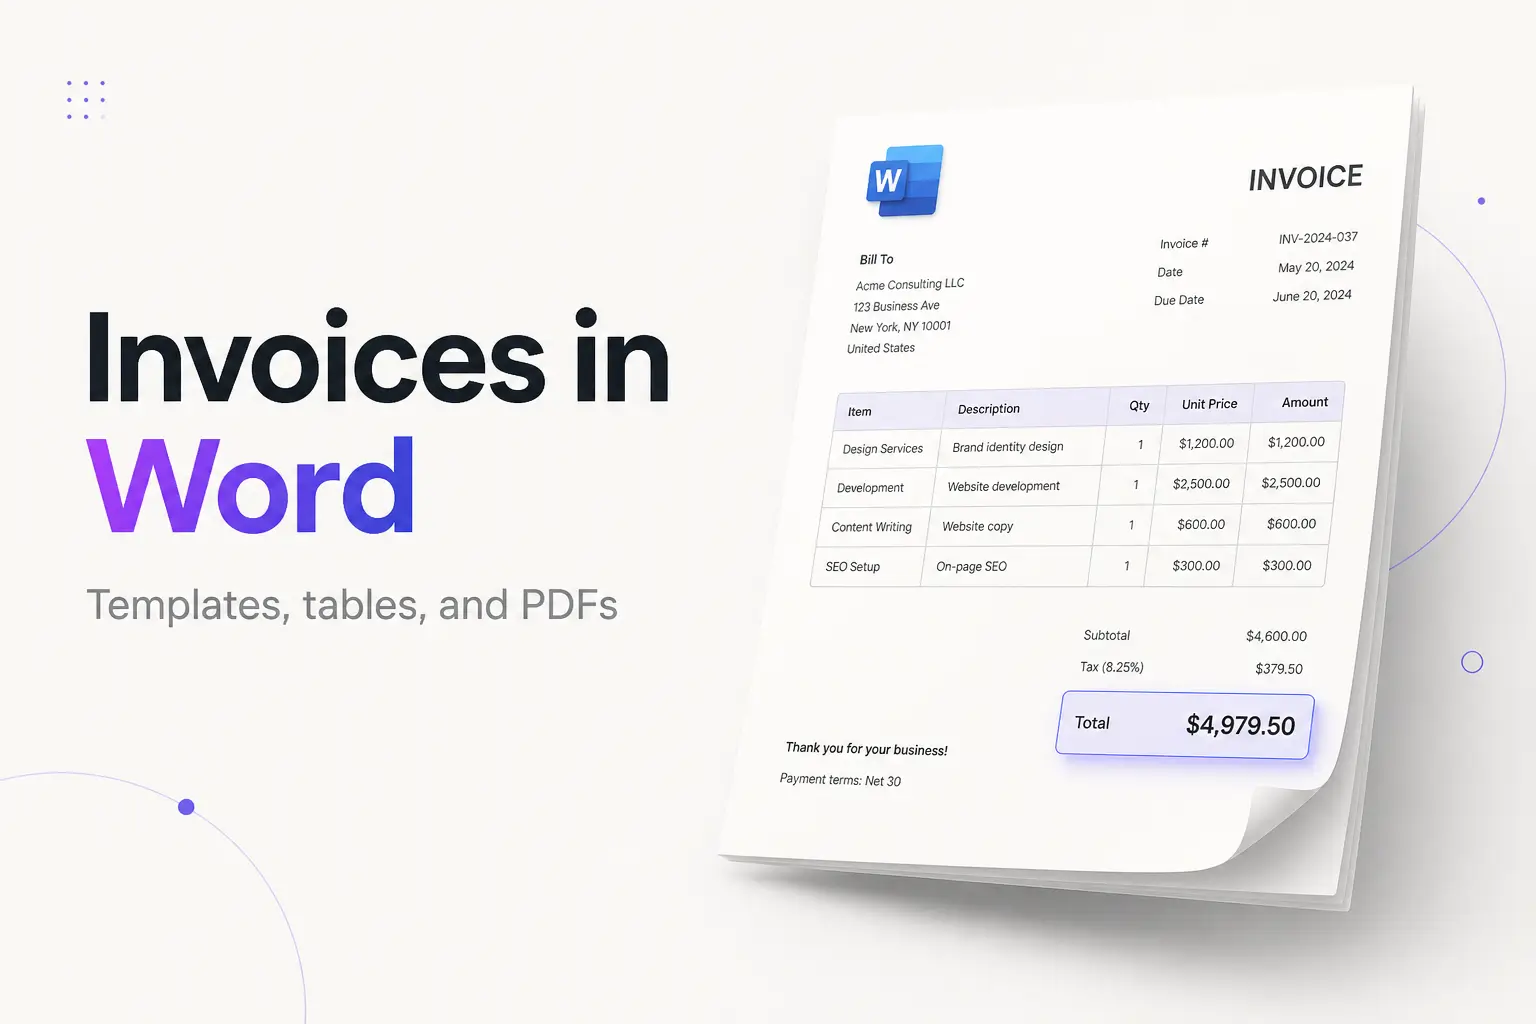
The fastest way to create an invoice using Word: open Word, click New, type "invoice" in the search box, pick one of Microsoft's built-in templates, replace the placeholder text with your details, and save it as a PDF. That's a professional invoice in about five minutes. If you'd rather control every line, font, and margin, you can build one from a blank document using a table. This guide covers both routes, shows you how to make Word actually total your line items, and ends with a clean PDF you can send.
An invoice is an itemized request for payment: who owes what, for which work, and by when. Word is a comfortable place to make one because it's built for laying out a clean, readable page—which is most of what an invoice is.
Two ways to make an invoice in Word
Option 1 — Start from a template (fastest). Open Word, click New, and type invoice in the "Search for online templates" box, then press Enter. Word shows a set of ready-made designs; there's a larger collection in the Microsoft invoice template gallery. Pick one, click Create, and replace the placeholder text with your own business and client details. The layout, fonts, and table are already built.
Option 2 — Build from scratch (full control). Start with a blank document and lay out the sections yourself using a table for the line items. It takes longer the first time, but you get an invoice that looks exactly the way you want and that you fully understand. Save it as a template and every future invoice is a copy-and-fill job.
Below we build from scratch, because once you can do that, editing any downloaded template is easy.
What every Word invoice must include
Before you touch the page, know what goes on it. The US doesn't mandate a single invoice format, but these fields are what get an invoice understood and paid:
- The word "Invoice" and a unique invoice number.
- Your business name and contact details—name, address, email, phone. A sole proprietor can bill under their own legal name; you don't need an LLC to invoice, and you should never put your Social Security number on it.
- The client's name and address.
- Invoice date and payment due date (or terms like Net 30).
- Line items: a description, quantity, unit price, and line total for each thing you're billing.
- Subtotal, tax (if it applies), and grand total.
- Payment instructions—how and where to pay.
Whether sales tax belongs on the invoice depends on your state and what you're selling; many services aren't taxed, so don't assume it applies. Treat any tax point here as general information, not tax advice.
Build the invoice from scratch, step by step
- Open a blank document (File → New → Blank document). Set comfortable margins under Layout → Margins (Normal is fine).
- Add the header. At the top, type INVOICE in a large, bold font. Under it, add your business name and contact block—name, address, email, phone. Leave room top-right for a logo (Insert → Pictures).
- Add the invoice meta and "Bill To" blocks. On the left, a Bill To area for the client's name and address. On the right, three labeled lines: Invoice #, Date, and Due date. A borderless two-column table keeps these tidy and aligned.
- Insert the line-item table. Go to Insert → Table and create four columns—Description, Quantity, Unit price, Amount—with enough rows for your items plus three rows at the bottom for Subtotal, Tax, and Total. Bold the header row and shade it under Table Design.
- Fill in the line items. For each thing you're billing, type the description, quantity, unit price, and the line amount (quantity × unit price). We'll let Word total the column in the next section.
- Add a payment/notes area below the table: how to pay (bank transfer, check, a payment link) and a short thank-you line.
- Right-align the money column so the dollar figures line up on the decimal, and format your currency consistently as
$1,250.00.
You now have the shell. The next step is making Word add up the Amount column for you.
Make Word total your line items
This is the part most Word invoice guides skip. Word can add up a column, but it works differently from Excel—and the difference matters.
Add the column with a table formula. Click in the Subtotal cell, go to the Layout tab (under Table Tools), and click Formula. Word suggests:
=SUM(ABOVE)
Click OK and Word adds every number in the column above the cursor. If your amounts are in a row instead, use =SUM(LEFT). To show the result as money, pick a currency option in the Number format box of the same dialog.
Add tax and the grand total. In the Tax cell, either type the tax amount or insert a formula that references the subtotal cell (Word labels cells like a spreadsheet—A1, B2). In the Total cell, insert =SUM(ABOVE) again if the Subtotal and Tax rows are directly above it, or add the two cells by reference, e.g. =B10+B11.
The catch you must know. Unlike Excel, Word does not recalculate automatically when you change a number. Edit a quantity or price and the total keeps showing the old figure until you tell it to refresh: right-click the total and choose Update Field, or select the whole table and press F9. Forgetting this is the number-one way a Word invoice goes out with a wrong total.
Because of that manual refresh, Word's math is best for invoices you fill once and send. If you're re-totaling a lot, or your invoice has quantities times rates on every line, Excel or a dedicated tool saves the fuss—more on that at the end.
Worked example 1: a freelance invoice built from a table
You're a freelance designer billing Maple & Co. for a logo and two rounds of edits.
- Header: INVOICE, your name,
Invoice # 1042,Date: Oct 8, 2026,Due date: Nov 7, 2026(Net 30—30 days after the invoice date, not the 7th of any month). - Line 1: "Logo design," Quantity
1, Unit price$800, Amount$800. - Line 2: "Revision round," Quantity
2, Unit price$150, Amount$300. - Subtotal: put the cursor in the Subtotal cell, Layout → Formula →
=SUM(ABOVE)→ $1,100. - Tax: design work isn't taxed in this client's state, so the Tax line is
$0. - Total:
=SUM(ABOVE)in the Total cell → $1,100.
Now suppose the client approves a third revision and you bump Line 2's quantity to 3 (Amount $450). The subtotal cell still reads $1,100 until you right-click it and choose Update Field—then it corrects to $1,250. Always refresh before you export.
Worked example 2: using a built-in template
You just want an invoice out the door and don't need to build anything.
- File → New, type
invoicein the search box, press Enter, and pick a clean design. Click Create. - Replace the placeholders. Click the
[Company Name]text and type yours; do the same for the address, the Bill To block, and the dates. Delete any sample line you don't need. - Enter your line items. Type each description, quantity, and price. If the template's total is a formula field, update it (right-click → Update Field); if it's plain text, type the total yourself and double-check the arithmetic.
- Set the invoice number and due date. Use a fresh number—never reuse one, even from a voided invoice—and a real due date or a term like Net 30.
- Drop in your logo (Insert → Pictures) if the template left a spot for it.
- Save as PDF and send.
Templates get you 90% of the way instantly. The only things to watch are the leftover placeholder text and any total that doesn't refresh on its own.
Save and send it as a PDF
Don't email the .docx. A Word file can be edited by the recipient, may look different on their machine, and can carry tracked changes or comments you meant to delete. Export a PDF instead:
- Update every formula field first (select the table, press F9) so the totals are current.
- File → Save As (or File → Export → Create PDF/XPS) and choose PDF as the file type.
- Name it with the invoice number, e.g.
Invoice-1042-MapleCo.pdf, and send it.
Keep a copy of every invoice you send. The IRS advises businesses to retain supporting records such as sales invoices for their filings.
Common mistakes to avoid
- Sending the .docx file. Always export a PDF so figures can't be changed and the layout can't reflow.
- Trusting the total without refreshing it. Word doesn't auto-recalculate. After any edit, right-click the total and choose Update Field (or select the table and press F9) before you export.
- Leaving placeholder text in. Downloaded templates ship with
[Company Name]and sample line items. Scan the whole page and replace or delete every one. - Reusing invoice numbers. Each invoice needs its own unique number. Reusing one—even a voided one—creates duplicates that confuse you, your client, and any auditor.
- Assuming you must charge sales tax. Tax depends on your state and what you sell; many services aren't taxed. This is general information, not tax advice—check your state's rules or your accountant.
- Confusing Net terms with a calendar date. Net 30 means 30 days after the invoice date, not the 30th of the month.
- Putting personal ID numbers on the invoice. You don't need to—and shouldn't—print your Social Security number, and you don't need an EIN to send an invoice.
When Word is more than you need
Word is a good fit when your invoice is mostly text, you want fine control over the layout, or you're sending a flat fee with little math. It's a poorer fit the moment you're multiplying quantities by rates on every line and re-totaling—Word's manual Update Field step turns into a chore, and one forgotten refresh sends a wrong number. That's exactly where a spreadsheet shines, which is why many people prefer to make the invoice in Excel and let the formulas re-total on their own.
If your real need is "bill this client and get paid today," a purpose-built tool is faster than either. Our free invoice generator creates and downloads a clean PDF in a couple of minutes—no tables to draw, no fields to refresh, no account. Prefer to stay in Word? Grab our Word invoice template with the layout already built, or the Microsoft-style invoice template if that's the look you're after. For the wider workflow, see how to send an invoice, what Net 30 really means, and how to set up invoice numbers.
The short version
Creating an invoice in Word is two choices: start from a built-in template (New → search "invoice") for speed, or build from scratch with a table for control. Add your header, a Bill To block, invoice number and dates, and a line-item table. Let Word add the column with Layout → Formula → =SUM(ABOVE)—but remember it won't recalculate until you Update Field. Set a fresh invoice number, export a PDF, and keep a copy. And if the manual math is more fuss than the job deserves, a free generator or a ready-made template gets the same invoice out the door in minutes.
Frequently asked questions
The FAQs above answer what most people ask about making invoices in Word—whether Word has a template, whether it can total automatically, Word versus Excel, making a fillable invoice, sending a PDF versus a .docx, cost, and whether you need a registered business.