How to generate an invoice in Excel: a step-by-step guide with formulas
September 3, 2026 · 10 min read · By Charles Ugo
invoice
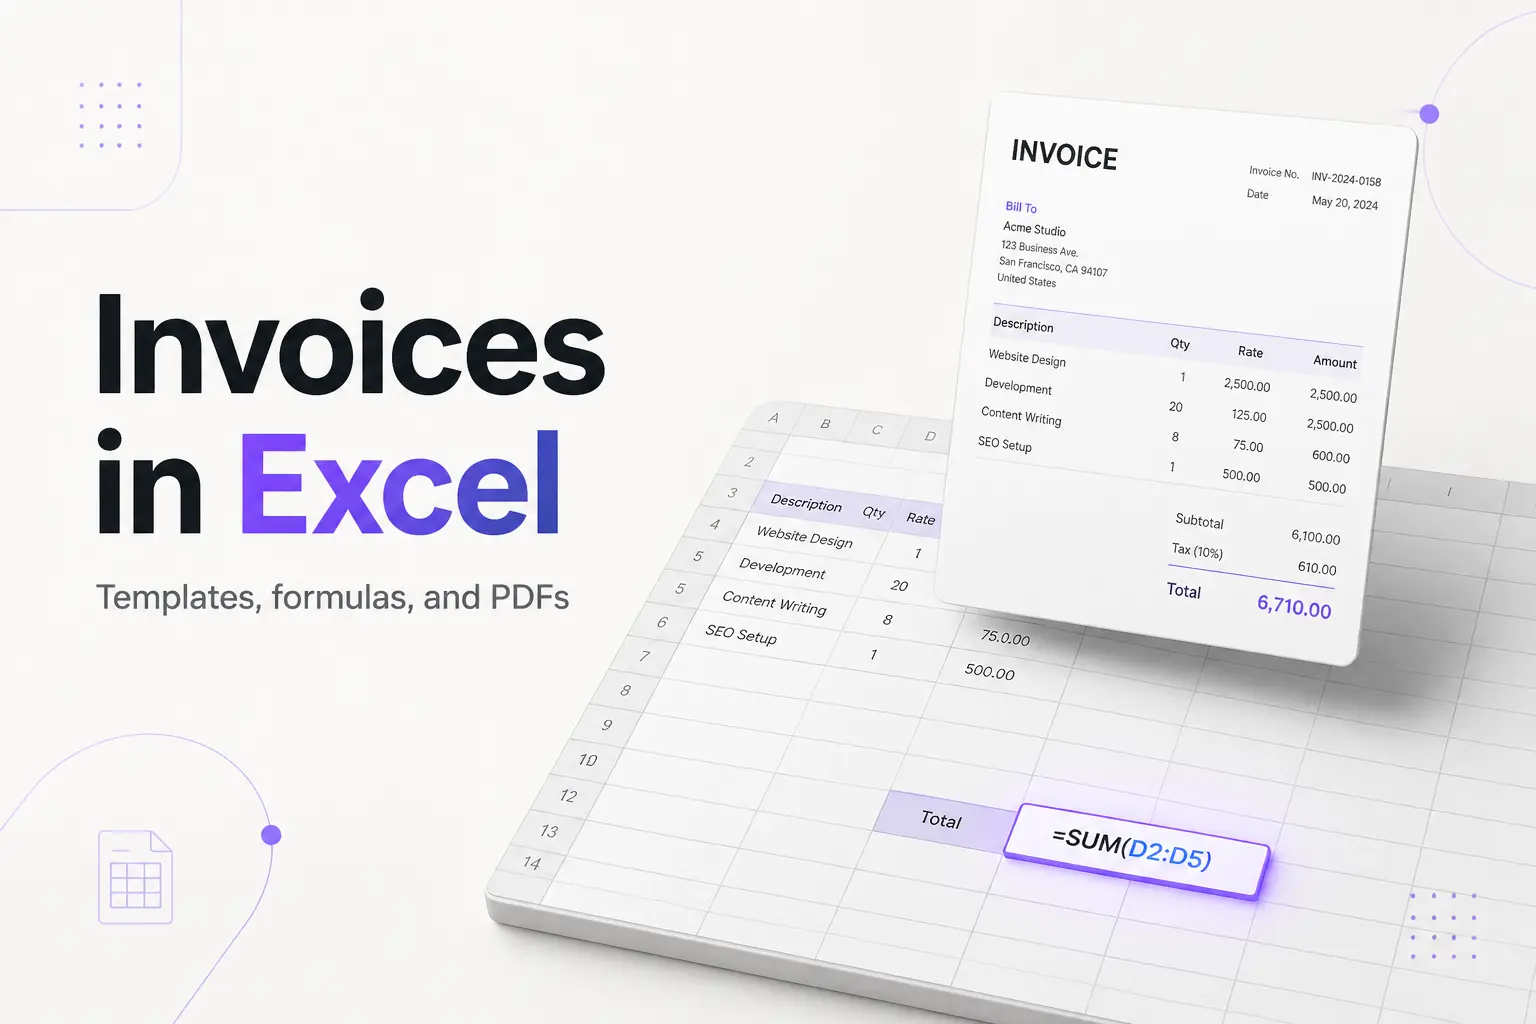
The fastest way to generate an invoice in Excel: open Excel, click New, search "invoice," and pick one of Microsoft's built-in templates—then type in your details and save it as a PDF. That covers most people in about five minutes. If you'd rather control every cell (and learn the formulas that do the math for you), you can build one from a blank sheet. This guide walks both routes, then shows the exact formulas that total your line items, add tax, and even auto-fill client details.
An invoice is an itemized request for payment: who owes what, for which work, and by when. Excel is a natural fit because an invoice is basically a small table with a few sums at the bottom—and sums are what spreadsheets do best.
Two ways to make an invoice in Excel
Option 1 — Start from a template (fastest). Open Excel, click New, and type invoice in the template search box. Microsoft ships free invoice templates, and there's a larger set in the Microsoft invoice template gallery. Open one, replace the placeholder text with your business and client details, and you're done. The layout and formulas are already built.
Option 2 — Build from scratch (full control). Start with a blank workbook and lay out the sections yourself. It takes longer the first time, but you get an invoice that looks exactly how you want, with formulas you understand. Save it as a template and every future invoice is a copy-and-fill job.
Below we build from scratch, because once you can do that, editing any template is easy.
What every Excel invoice must include
Before touching a cell, know what goes on the page. The US doesn't mandate a single invoice format, but these fields are what get an invoice understood and paid:
- The word "Invoice" and a unique invoice number.
- Your business name and contact details—name, address, email, phone. A sole proprietor can bill under their own legal name; you don't need an LLC to invoice, and you should not put your Social Security number on it.
- The client's name and address.
- Invoice date and payment due date (or terms like Net 30).
- Line items: a description, quantity, unit price, and line total for each thing you're billing.
- Subtotal, tax (if it applies), and grand total.
- Payment instructions—how and where to pay.
Whether sales tax belongs on the invoice depends on your state and what you're selling; many services aren't taxed, so don't assume it applies. Treat any tax point here as general information, not tax advice.
Build the invoice from scratch, step by step
- Open a blank workbook and turn off gridlines for a clean look: View → Gridlines (uncheck). This only changes the screen; it doesn't affect printing.
- Set column widths. Make column A narrow as a left margin, then widen the columns that will hold descriptions and numbers. Merge a few cells across the top for the header.
- Build the header. In a large, bold cell type INVOICE. Below it, put your business name and contact block. Leave room top-right for a logo (Insert → Pictures).
- Add the "Bill to" and invoice meta blocks. On the left, a Bill To box for the client's name and address. On the right, three labeled cells: Invoice #, Date, and Due date.
- Create the line-item table. Add headers across one row: Description, Quantity, Unit price, Amount. Leave 8–12 blank rows beneath for items. Bold the header row and add a border.
- Add the totals block under the table: Subtotal, Tax, and Total rows on the right.
- Add a payment/notes area at the bottom: how to pay, and a thank-you line.
- Format the money cells. Select the price, amount, and total cells and set them to Currency (Home → Number format → Currency) so everything shows as
$1,250.00.
You now have the shell. The next step—formulas—is what turns it from a static form into a calculator.
The formulas that do the math
This is where Excel beats Word. Say your line-item table runs from row 12 to row 21, with Quantity in column B, Unit price in column C, and Amount in column D.
Line total (quantity × price). Click the first Amount cell (D12) and enter:
=B12*C12
Then drag the fill handle down through D21 so every row calculates itself. Now typing a quantity and a price fills in the amount automatically.
Subtotal. In the subtotal cell, add up the Amount column with the SUM function:
=SUM(D12:D21)
Blank rows count as zero, so this works even when you only fill three lines. (The AutoSum button—the Σ on the Home tab—writes this same formula for you.)
Tax. If tax applies, multiply the subtotal (say it's in D22) by your rate. For a 7% sales-tax rate:
=D22*0.07
Better: put the rate in its own cell (say G2) and reference it—=D22*G2—so you change the rate in one place. If no tax applies, leave the tax line at 0 or delete the row.
Grand total. Add subtotal and tax:
=D22+D23
That's a fully self-totaling invoice. Type quantities and prices, and the subtotal, tax, and total all update instantly—no mental arithmetic, no transposed digits.
Optional: rounding. To avoid a stray fraction of a cent, wrap a total in ROUND, e.g. =ROUND(D22*G2,2) rounds tax to two decimals.
Auto-fill client and product details with a lookup
If you bill the same clients or sell the same products often, stop retyping their details. Keep a second sheet—call it Data—with a table of clients (ID, name, address) or products (ID, name, price). Then pull details into the invoice with a lookup formula.
With the classic VLOOKUP function, if you type a product ID in cell A12 and your product table sits in Data!A2:C50 (ID, name, price), pull the price with:
=VLOOKUP(A12,Data!$A$2:$C$50,3,FALSE)
The 3 means "return the 3rd column" (price), and FALSE forces an exact match. The dollar signs lock the range so it doesn't shift when you copy the formula down.
On Microsoft 365, the newer XLOOKUP function is cleaner because it doesn't care about column position:
=XLOOKUP(A12,Data!$A$2:$A$50,Data!$C$2:$C$50)
Wrap either one in IFERROR so a blank row shows nothing instead of #N/A:
=IFERROR(VLOOKUP(A12,Data!$A$2:$C$50,3,FALSE),"")
Finish it with a drop-down list (Data → Data Validation → List) so you pick the client or product instead of typing an ID. Select the ID, and name, address, and price appear on their own. That's the "automated invoice" people mean when they talk about VLOOKUP invoices—no macros required.
A note on invoice numbers. For true one-click auto-numbering that increments every time you open the file, you need a small VBA macro, and the workbook must be saved as .xlsm. Most people don't need that: just bump the number by one each time you save a new copy. Whichever way you do it, never reuse an invoice number—even a voided one—or your records and any audit trail get tangled.
Worked example 1: a freelance invoice with formulas
You're a freelance writer billing Bright Coffee Co. for two blog posts and an edit.
- Header: INVOICE, your name,
Invoice # 1042,Date: Sept 3, 2026,Due date: Oct 3, 2026(Net 30—30 days after the invoice date). - Line 1: "Blog post — 1,200 words," Qty
2, Unit price$250. Amount cell holds=B12*C12→ $500. - Line 2: "Article edit," Qty
1, Unit price$120→ $120. - Subtotal:
=SUM(D12:D21)→ $620. - Tax: writing is a service not taxed in this client's state, so the tax line is
0. - Total:
=D22+D23→ $620.
You type only the two quantities and two prices. Every total fills itself in. Change a quantity and the total re-calculates before you look away.
Worked example 2: an automated invoice with a lookup
Now you run a small print shop and bill from a product list. Your Data sheet has: P01 – Business cards – $45, P02 – Flyers (100) – $80, P03 – Banner – $120.
- In the invoice's first item row, cell A12 has a drop-down listing
P01, P02, P03. - The Description cell uses
=IFERROR(VLOOKUP(A12,Data!$A$2:$C$50,2,FALSE),"")to pull the product name. - The Unit-price cell uses
=IFERROR(VLOOKUP(A12,Data!$A$2:$C$50,3,FALSE),"")to pull the price. - You type only the quantity in column B; the Amount cell
=B12*C12finishes the row.
Pick P02, type quantity 3, and the row fills in "Flyers (100), $80, $240" on its own. Add more rows the same way, and =SUM() totals the lot. Once this workbook is built, generating an invoice is: pick products, type quantities, save as PDF.
Save and send it as a PDF
Don't email the .xlsx—a client can accidentally edit your figures, and it may look different on their screen. Export a PDF instead:
- Set the print area so only the invoice exports: select the invoice range, then Page Layout → Print Area → Set Print Area. This keeps your
Datalookup sheet and empty columns out of the file. - File → Export → Create PDF/XPS (or Save As and choose PDF).
- Name the file with the invoice number, e.g.
Invoice-1042-BrightCoffee.pdf, and send it.
Keep a copy of every invoice you send. The IRS advises businesses to retain supporting records like sales invoices for their filings.
Common mistakes to avoid
- Typing totals by hand. The whole point of Excel is the formula. A hand-typed total is a math error waiting to happen and won't update when you tweak a line.
- Sending the .xlsx file. Always export a PDF. Spreadsheets can be edited and can reflow on a different device.
- Forgetting the print area. Without one, your PDF may include blank columns or your lookup tab. Set it once.
- Reusing invoice numbers. Each invoice needs its own number. Reusing one—even a voided one—creates duplicates that confuse you, your client, and any auditor.
- Assuming you must charge sales tax. Tax depends on your state and what you sell; many services aren't taxed. This is general information, not tax advice—check your state's rules or your accountant.
#N/Aall over the invoice. That's a lookup with no match. Wrap it inIFERRORso empty rows stay blank.- Confusing Net terms with a calendar date. Net 30 means 30 days after the invoice date, not the 30th of the month.
When Excel is more than you need
Excel is great when you already own it and like controlling the sheet. But building the layout, wiring the formulas, and exporting a clean PDF every time is real work—and one wrong cell reference throws off a total.
If your real need is "bill this client and get paid today," a purpose-built tool is faster. Our free invoice generator creates and downloads a clean PDF in a couple of minutes—no formulas, no print-area fiddling, no account. Prefer to stay in a spreadsheet? Grab our Excel invoice template with the totals already wired, or the Google Sheets version if you work in the cloud. For the wider workflow, see how to send an invoice, what Net 30 really means, and how to set up invoice numbers.
The short version
Generating an invoice in Excel is two choices: start from a built-in template (New → search "invoice") for speed, or build from scratch for control. Either way, let the formulas do the math—=B12*C12 for each line, =SUM() for the subtotal, subtotal × rate for tax, and a lookup with VLOOKUP/XLOOKUP if you want client and product details to fill themselves in. Set a print area, export a PDF, and keep a copy. And if the spreadsheet is more fuss than the job deserves, a free generator or a ready-made template gets the same invoice out the door in minutes.
Frequently asked questions
The FAQs above answer what most people ask about making invoices in Excel—whether Excel has a template, how to auto-total and auto-number, converting to PDF, auto-filling client details, Excel vs. Word, and whether it's free.