How to send an invoice on Square: a step-by-step guide
October 11, 2026 · 10 min read · By Charles Ugo
invoice
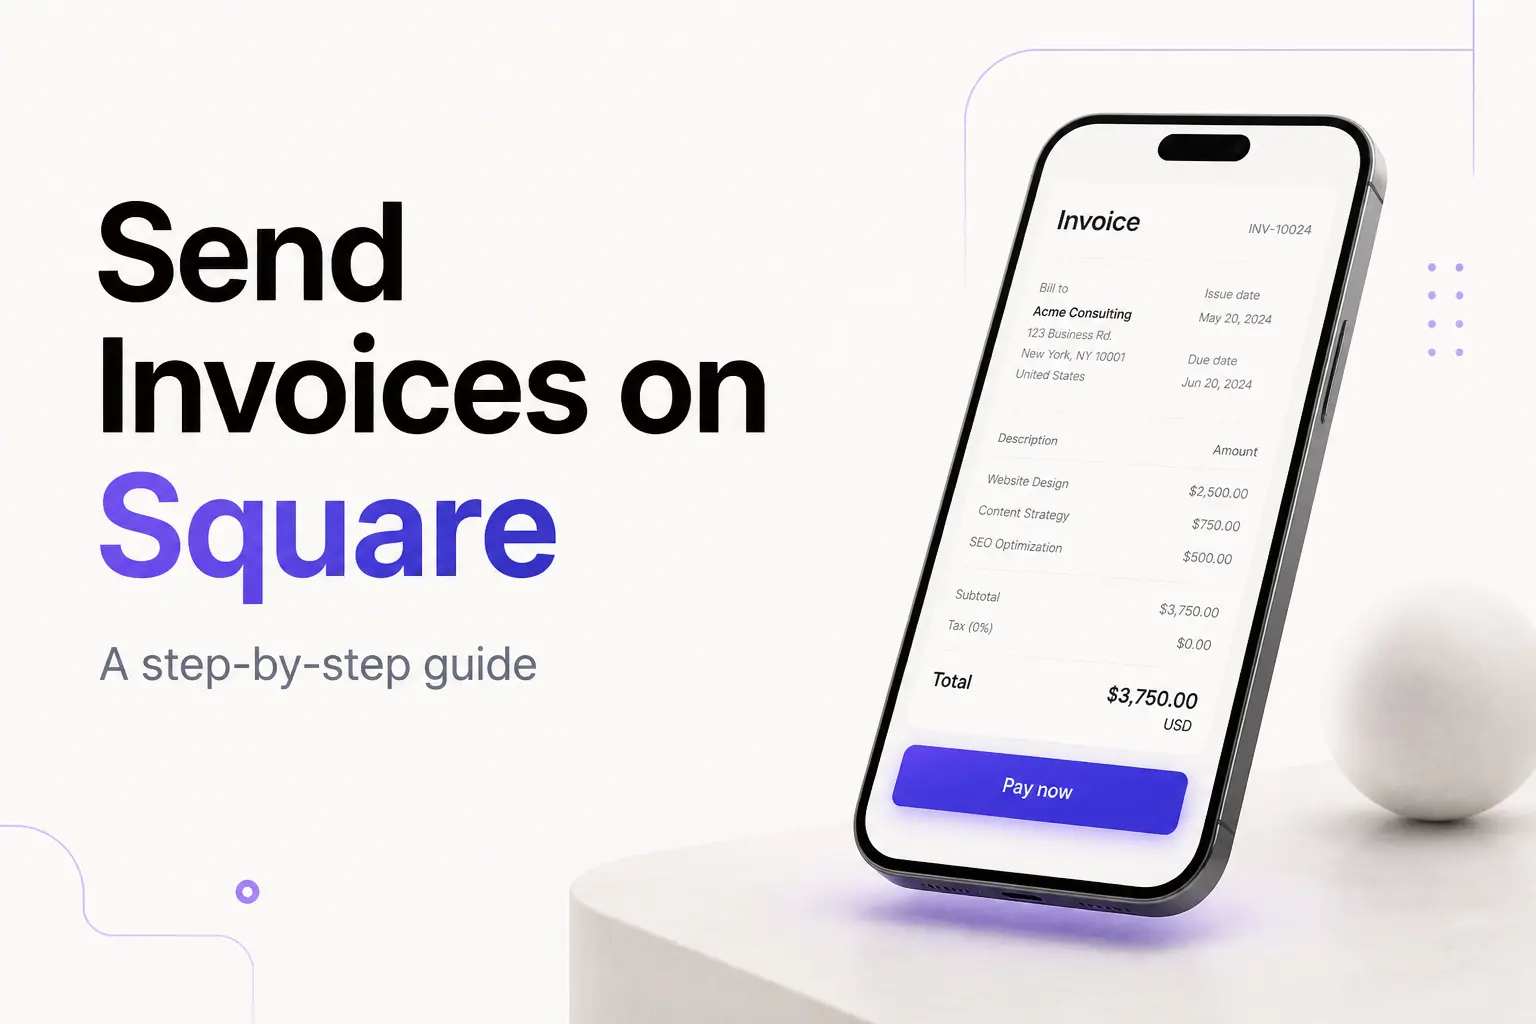
To send an invoice on Square: sign in to your Square Dashboard, go to Invoices, click Create invoice, add your customer, enter the items or a flat amount, set a due date, choose how to deliver it (email, text, or a shareable link), then click Send. The whole thing takes about five minutes, and it's free to send—Square only charges a fee when your customer actually pays.
This guide walks the full flow from both the Dashboard and the Square app, shows two real examples (a one-off freelance invoice and a recurring retainer), and lays out exactly what Square deducts when you get paid so there are no surprises.
An invoice is an itemized request for payment—who owes what, for which work, and by when. Square turns that request into a link your client can pay by card, Apple Pay, or bank transfer in a couple of taps.
Before you start
You need a free Square account and, ideally, your business details already filled in (name, logo, and address) so every invoice looks finished. If you sell set services or products, add them once under Items in your Dashboard—then you can pick them from a list instead of retyping prices on every invoice.
Two facts worth knowing up front:
- Sending is free. There's no monthly fee on the standard Square Invoices plan. The fee only lands when the client pays.
- You don't need an LLC or a registered company. A sole proprietor can invoice under their own legal name. Square works the same either way.
How to send an invoice from the Square Dashboard
This is the desktop route—easiest when you're setting up items, longer invoices, or recurring billing. Square's own create-and-send-invoices help page mirrors these steps.
1. Open Invoices. Sign in at your Square Dashboard and go to Payments (labeled Invoices & Payments or Orders & payments on some accounts) → Invoices.
2. Start a new invoice. Click Create invoice. A blank invoice form opens.
3. Add the customer. Pick an existing customer from your directory or add a new one with their name and email (or mobile number for text delivery). You can add up to nine recipients on a single invoice.
4. Set the schedule. Choose One-time or Recurring. For a one-time invoice, enter the due date and, optionally, a service date. Net 30 here means payment is due 30 days after the invoice date—not by the 30th of the month.
5. Add your line items. Click Add item or service and either select a saved item or type a custom description, quantity, and price. Apply any discount, tax, or shipping charge. Square totals it for you.
6. Choose payment methods. Toggle which options the client can use: credit/debit card, Apple Pay, Google Pay, Cash App Pay, ACH bank transfer, Afterpay, and Square gift cards. You can also allow partial payments or tipping here.
7. Pick how to deliver it. Select Email (supports automatic reminders and extra recipients), Text message (a link by SMS—no reminders), or Shareable link (you copy the link and send it yourself, e.g. in a chat).
8. Preview and send. Click Preview to see exactly what the client will get. If it's right, click Send (or Save as draft to finish later, or Schedule to send it on a future date).
That's it. The client gets a clean, branded invoice with a Pay now button.
How to send an invoice from the Square app
On the go, use the free Square Point of Sale app (iOS or Android). The flow is the same, just condensed for a phone.
1. Tap the + (or ≡ menu) and choose Send invoice, or open Invoices from the navigation panel.
2. Select a customer from your directory or add a new one with their name and email or phone number.
3. Enter a custom amount or tap a saved item. Apply any discount.
4. To bill on a repeating schedule, tap Make this invoice recurring and set the frequency.
5. Tap Payment methods to choose what the client can pay with, and toggle Partial payments if you want.
6. Choose delivery—email, text message, or share the link from your phone—then tap Send.
Worked example 1: a one-time freelance invoice
Say you're a freelance designer who just finished a logo for a new client, Maya's Bakery.
- In the Dashboard, click Create invoice and add Maya's Bakery as the customer (email: maya@example.com).
- Keep it One-time. Set the due date to Net 15—15 days from today.
- Add one line item:
Logo design package — 1 × $850. No sales tax, since design services aren't taxed in your state. (Whether a service is taxable depends on your state and the type of work, so confirm your own rules.) - Leave card, Apple Pay, and ACH bank transfer switched on.
- Choose Email, add a short note—"Thanks, Maya! Payment link is below."—and click Send.
Maya gets an email, clicks Pay now, and pays by card. If she pays the $850 through the online link on your free plan, Square takes 3.3% + 30¢ = $28.35, and $821.65 lands in your balance—typically the next business day.
Worked example 2: a recurring retainer with autopay
Now say you do monthly social-media management for the same bakery at $400/month, and Maya's happy to keep a card on file.
- Click Create invoice, add Maya, and choose Recurring.
- Set the start date to the 1st, frequency to Monthly, and either a repeat count or No end date.
- Add the line item:
Social media management — $400/month. - Turn on Allow automatic payments with card on file so each month charges her saved card automatically—no clicking required on her end. Square documents this in its recurring invoices guide.
- Click Schedule.
Every month, Square charges the card on file. Note the fee tier: a card-on-file charge is 3.5% + 15¢, so on $400 that's $14.15, leaving $385.85. (An online link payment would be 3.3% + 30¢ instead—the rate depends on how the card is entered.)
What Square charges when you get paid
Sending is free; the fee comes off the payment. Here are the standard rates on the free Square Invoices plan, according to Square's fee page. Rates change, so treat these as a snapshot and check the current numbers before you quote a client.
| How the invoice is paid | Fee (free plan) |
|---|---|
| Online, via the pay link | 3.3% + 30¢ |
| Manually keyed / card on file | 3.5% + 15¢ |
| ACH bank transfer | 1% (min $1) |
| In person (tap, dip, or swipe) | 2.6% + 15¢ |
Two things to note. First, ACH is the cheapest option for large invoices—1% on a $5,000 invoice is $50, versus $165.30 on a card. If you bill big amounts, turn on ACH and nudge clients toward it. Second, paid Square plans (Plus, Premium) lower the online rate to 2.9% + 30¢ and add features like batch invoices, but they carry a monthly fee—only worth it at volume.
How your client pays
The client doesn't need a Square account. The invoice email (or text link) opens a hosted page showing your line items and a Pay now button. They enter a card—or choose Apple Pay, Google Pay, Cash App Pay, or a bank transfer if you enabled it—and they're done. You get an instant notification, and the invoice status flips to Paid in your Dashboard.
Card payments usually settle to your Square balance the next business day. Need it faster? Instant transfer to a linked debit card or bank is available for an extra fee (1.75%, per Square).
Deposits, milestones, and estimates
For bigger jobs you rarely want the whole amount due at once. Square handles this two ways.
- Request a deposit. On the invoice, set a deposit—a percentage or fixed amount due up front—with the balance due later. Good for jobs where you buy materials before starting.
- Split into a payment schedule. Instead of one due date, break the total into scheduled installments (say 50% on booking, 50% on delivery). Each installment becomes its own request with its own due date.
If a client asks for a quote first, send an estimate rather than an invoice: same builder, but it's a proposal they approve. Once they accept, you convert the estimate to an invoice in one click—no retyping the line items.
Tracking and reminders: getting paid without chasing
After you send, the Invoices tab shows each invoice's status—Draft, Unpaid, Scheduled, Paid, or Overdue—so you always know where things stand.
The best late-payment fix is automatic. When you deliver by email, turn on automatic reminders: Square can nudge the client before the due date and again after it, so you never have to send the awkward "just following up" message yourself. (Text-delivered invoices don't support this—another reason to prefer email for anything you might have to chase.)
If an invoice goes overdue anyway, open it and click Resend, or Send reminder to fire off a polite prompt right away. For the wording of that follow-up, our guide on how to ask for payment has templates you can paste in.
Common mistakes to avoid
- Reusing an invoice number. Square auto-numbers invoices—don't override that with a number you've used before, even on a voided invoice. Duplicate numbers wreck your records and confuse clients.
- Sending by text when you need reminders. Text delivery can't send automatic reminders or CC extra people. For anything you might have to chase, use email.
- Forgetting a due date. An invoice with no due date invites late payment. Set a clear term (Net 15, Net 30, or Due on receipt) every time.
- Quoting a client the pre-fee amount and eating the difference. Remember Square keeps a percentage. If margins are tight, factor the fee in when you price the job—don't try to add it as a surprise "processing fee" line, which can annoy clients and may be restricted in some states.
- Assuming no tax form means no tax. Everything you collect is reportable income. Square sends a Form 1099-K when you cross the IRS threshold, but you report all of it either way. This is general information, not tax advice.
When a plain PDF invoice is the better tool
Square is great when you want clients paying by card inside one system. But you're locked to Square's fees and layout, and every payment routes through them. If you'd rather send a clean, professional invoice and get paid however you like—bank transfer, check, Zelle, or a card link of your own—a standalone PDF invoice is simpler and free of processing cuts.
Our free invoice generator builds a polished, downloadable PDF in a couple of minutes: add your logo, line items, and terms, and send it by email yourself. It pairs well with our guide to how to send an invoice the right way, and if you also use PayPal, see how to send an invoice on PayPal. Many freelancers use both—Square for card-happy clients, a PDF for everyone else.
Frequently asked questions
Answers to the questions people most often ask about sending Square invoices are in the FAQ above—covering cost, mobile sending, text delivery, editing, recurring setup, payout timing, and taxes.
The bottom line: sending a Square invoice is a five-minute, free job—create it, set a due date, choose email/text/link, and send. Just keep the fee in mind when you price work, use email for anything you'll need to chase, and lean on ACH for big invoices. And when you'd rather skip the processing cut entirely, a free PDF invoice gets the job done.